Getting Started Guide
Before You Install
Please have your IT Department whitelist the following sites:
Installing PrecisePK on Windows
Step 1.
Download the appropriate installer for your desktop
here.
Select the 32-bit version if you are running a 32-bit OS or if you have a previous local database with PrecisePK version v18.09.10 or older.
Step 2.
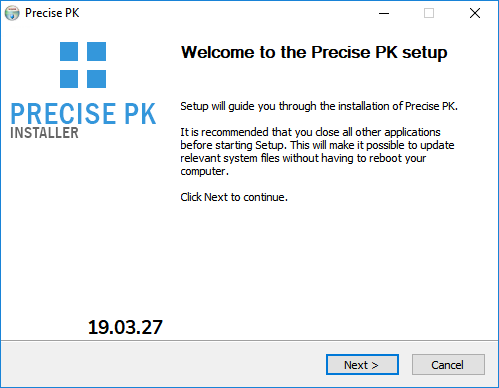
After downloading the installation file from the website, double-click the file. The installation set up window will show up on your screen.
Step 3.
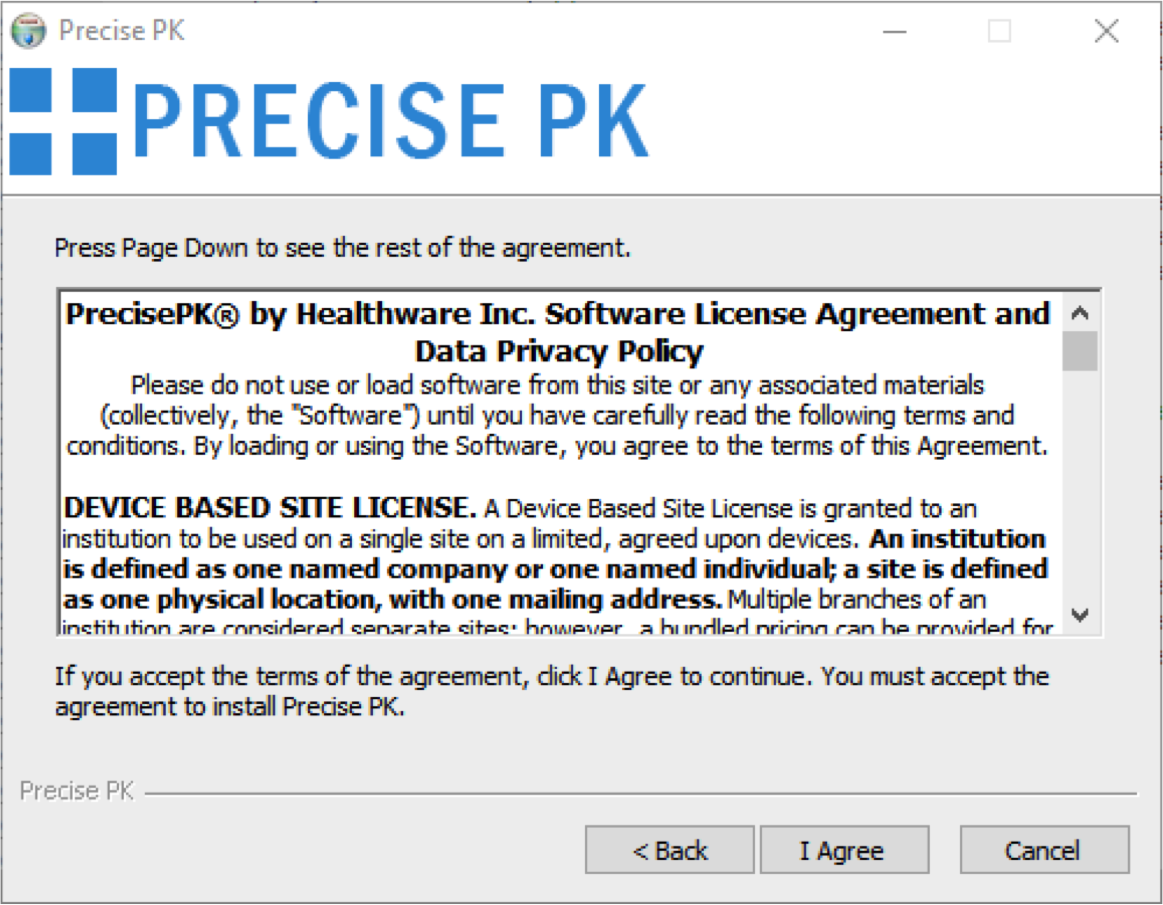
Click ‘Next’ and you will be taken to the Software License Agreement and Data Privacy Policy. Please read the document and accept or decline the terms of agreement. You must accept the agreement to continue with installing PrecisePK.
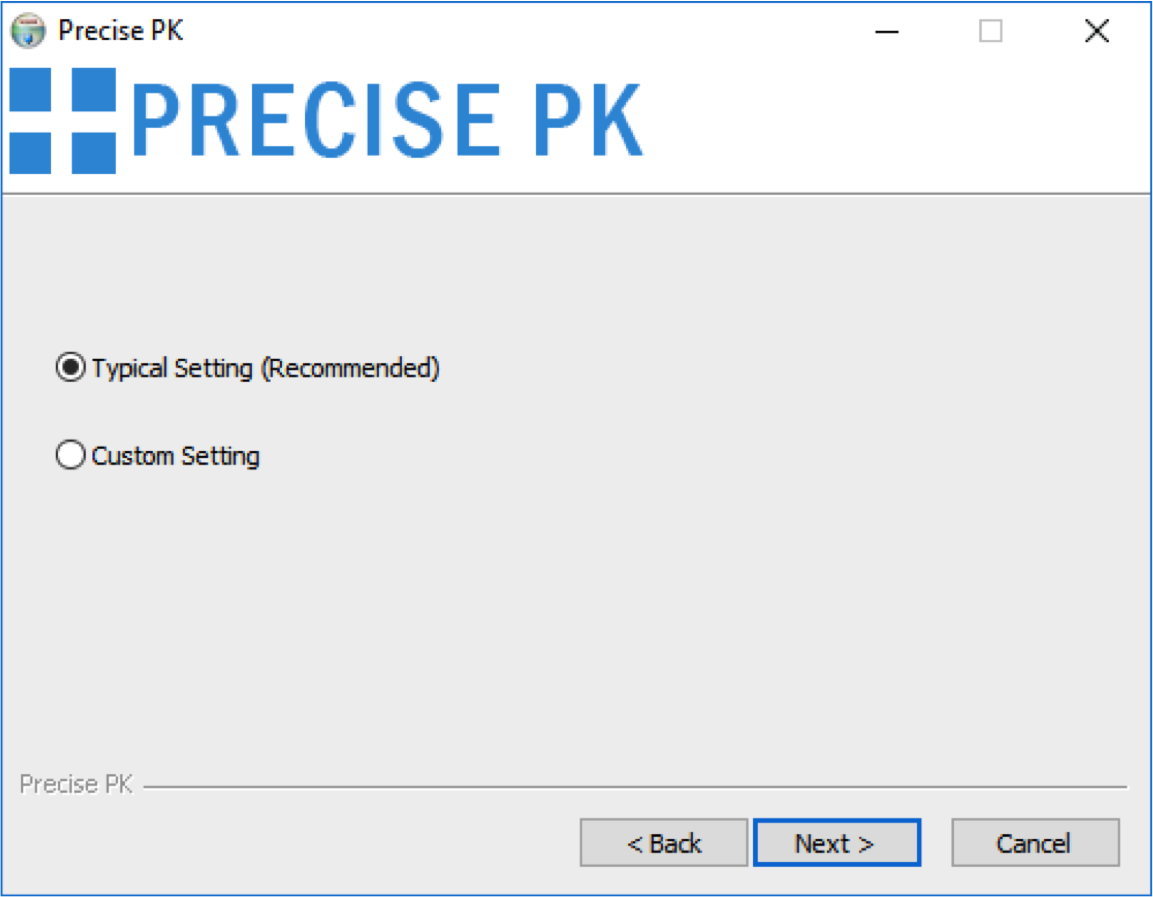
Step 4.
Click ‘I Agree’ and you will be given two options for the installation path. The Typical Setting will install the program under C:/Healthware/PrecisePK. The Custom Setting will allow you to choose your own installation path. We would recommend installing the program using the Typical Setting as this will allow you to have write access to this directory and change any program settings easily.
Step 5.
After choosing your preferred installation path, click ‘Next’ and the program will set up the files in the installation path you selected.
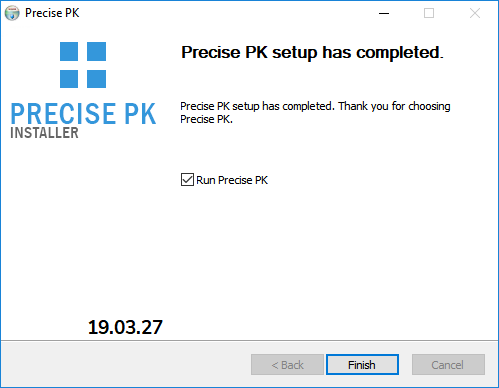
Step 6.
Once the setup is complete, the window should show ‘PrecisePK setup has completed.’ By default, the program will automatically run once you click ‘Finish.’ You can uncheck the ‘Run PrecisePK’ box to simply close the installation window when clicking ‘Finish.’
Installing PrecisePK on Mac
Step 1.
Download the Mac PrecisePK installer here. Step 2.
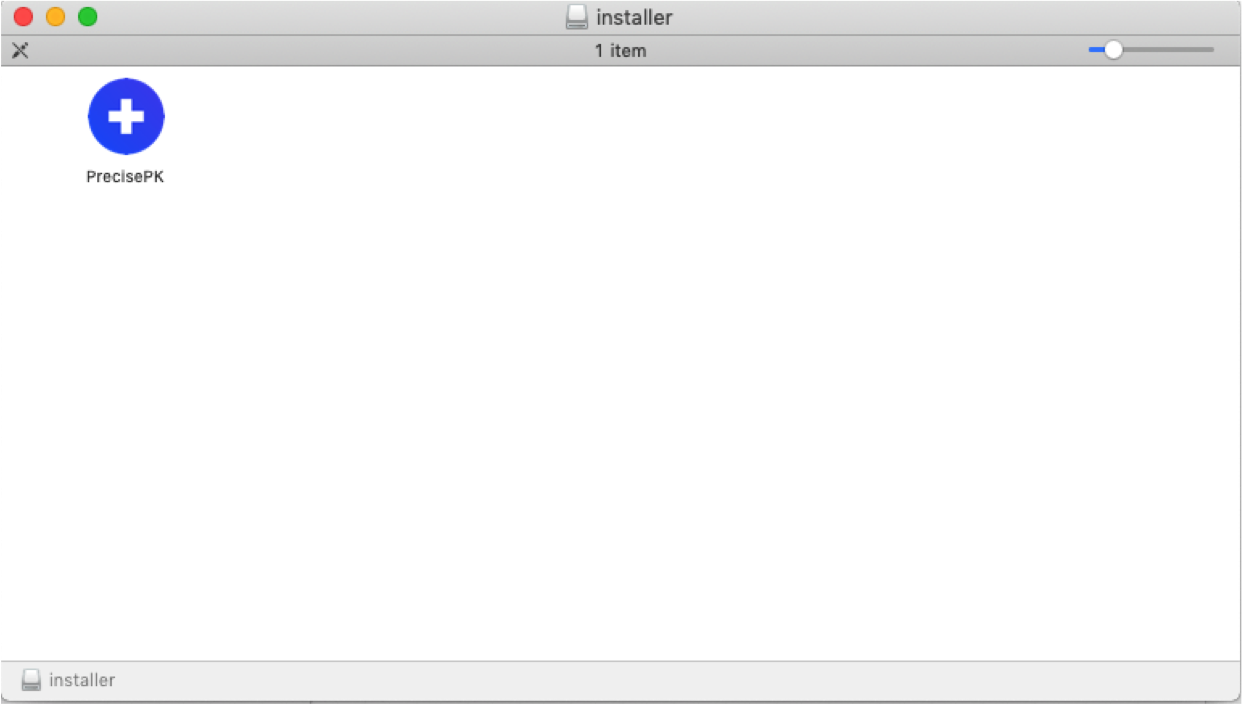
After downloading the installation file from the website, double-click the file. A window will display showing the PrecisePK icon. Please drag this icon into your Applications folder.
Step 3.
When you double click your Applications folder, the PrecisePK application should be there.

Step 4.
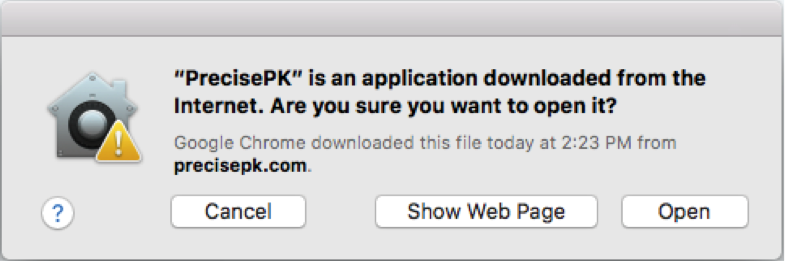
Double-click the PrecisePK application to open it. The PrecisePK icon should appear on your toolbar. The following window may also appear on your screen. Click ‘Open’ to run the application.
Step 5.
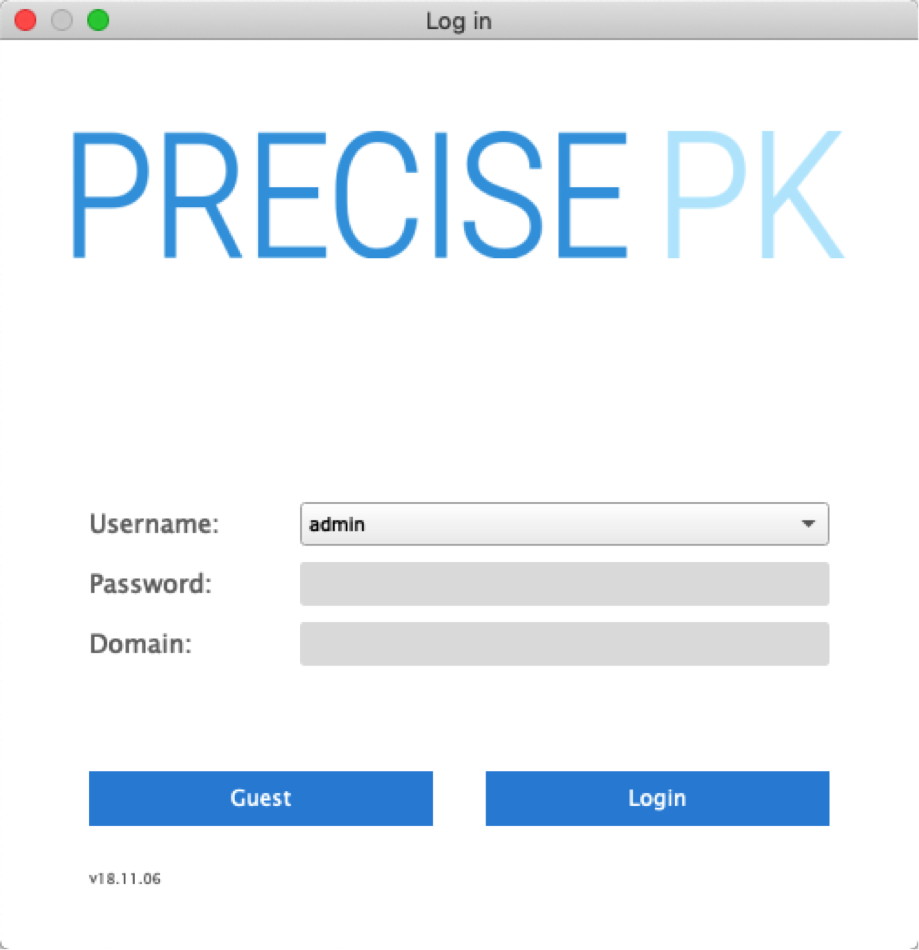
After opening the application, you will be directed to the ‘Log in’ screen, which completes your PrecisePK installation.
Activation
Step 1.
After installing PrecisePK, double-click the PrecisePK application, which will be in your folder or on your desktop.
Step 2.
If this is your first time starting the program, it will notify you that the program is running in demo mode. Demo mode will automatically run without a valid license. You will see the following notification every time you open PrecisePK in demo mode.
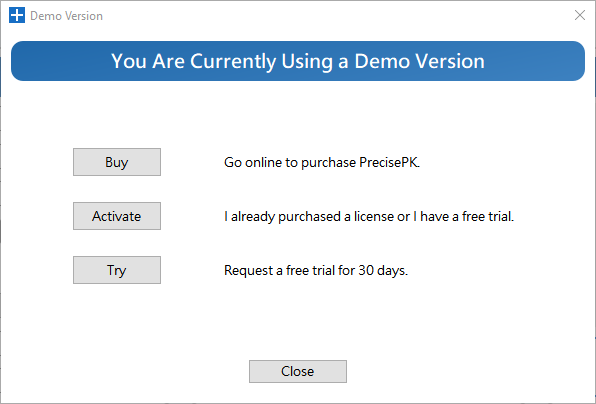
You may continue using PrecisePK in demo mode by closing this notice. By using demo mode, you are limited to using the following drugs in the program: Gentamicin, Theophyline, and Vancomycin.Moreover, you will not be able to access any database in demo mode. To use the full version of the program, request a 30-day
free trial or purchase a full license.
Free Trial License (Optional)
For a trial license, click the ‘Try’ button and fill out the resulting form below. A full name, email address and institution name are required. If no institution, fill out an unique identifier for the license. Then click ‘send trial license’. Your 30-day trial license will be sent to the entered email.

Step 3.
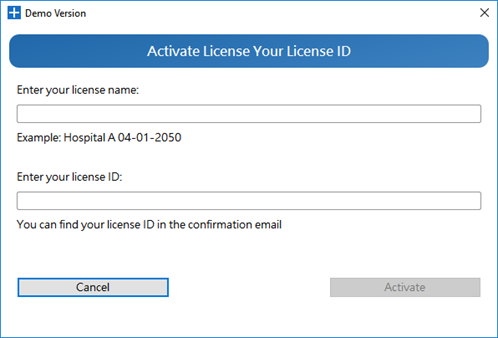
Your license information will be emailed to you after requesting a free 30-day trial or purchasing a full license. To activate your trial or full license, click ‘Activate’ on the first screen shown in Step 2. Enter your license name and license ID and click ‘Activate’.
Step 4.
After activating your license, PrecisePK will restart. Click ‘OK’ to continue.
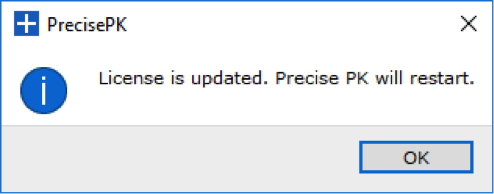
Your license is now activated and ready to use!
Modify License
Note
When your license renews (monthly or annual plan), the program should update your license information automatically. If you run into any issues please follow the steps below.
Step 1.
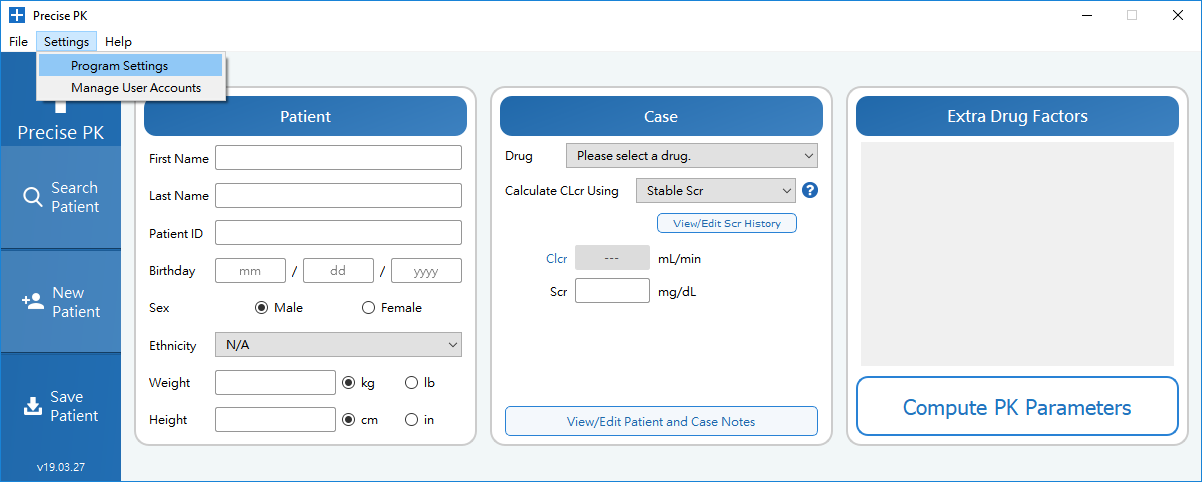
Open the PrecisePK and login. After logging in, select ‘Settings’ in the upper right-hand corner and select ‘Program Settings.’
Step 2.
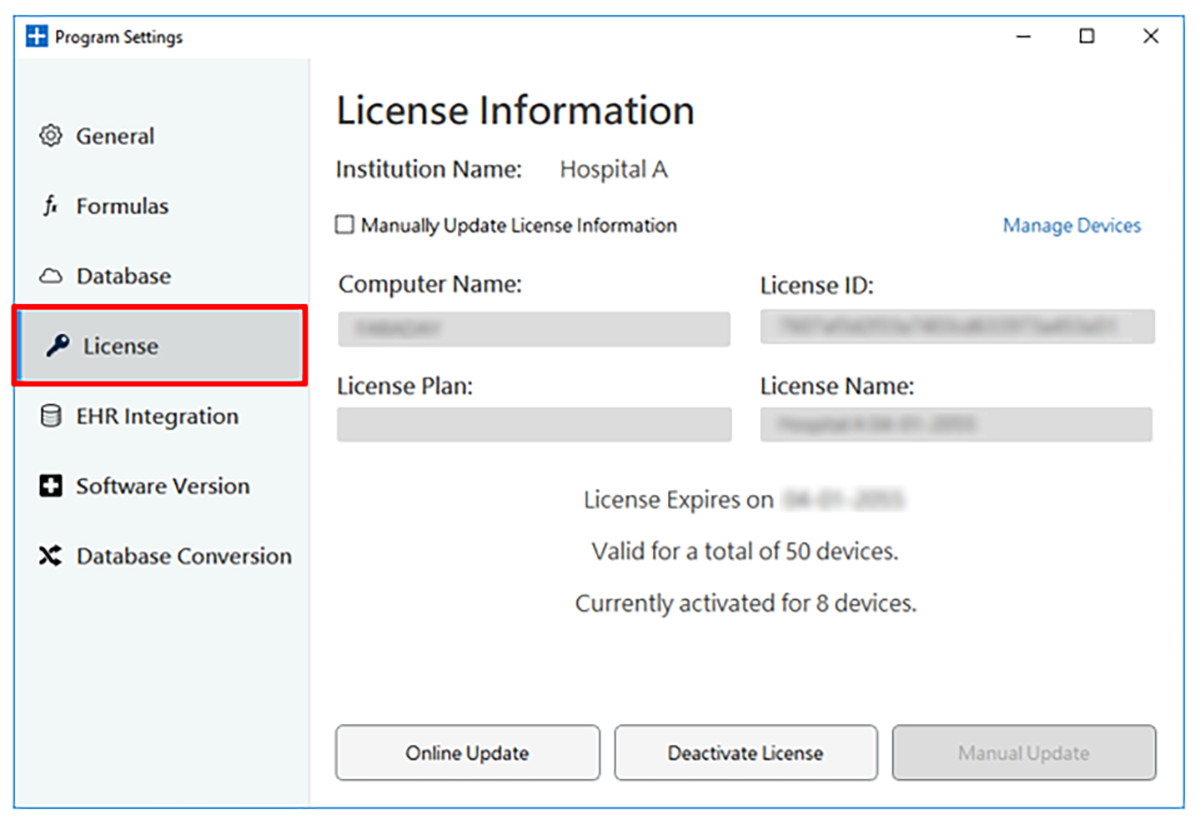
A new window will appear. On the left side of the window, select ‘License’ to view your license settings.
Step 3.
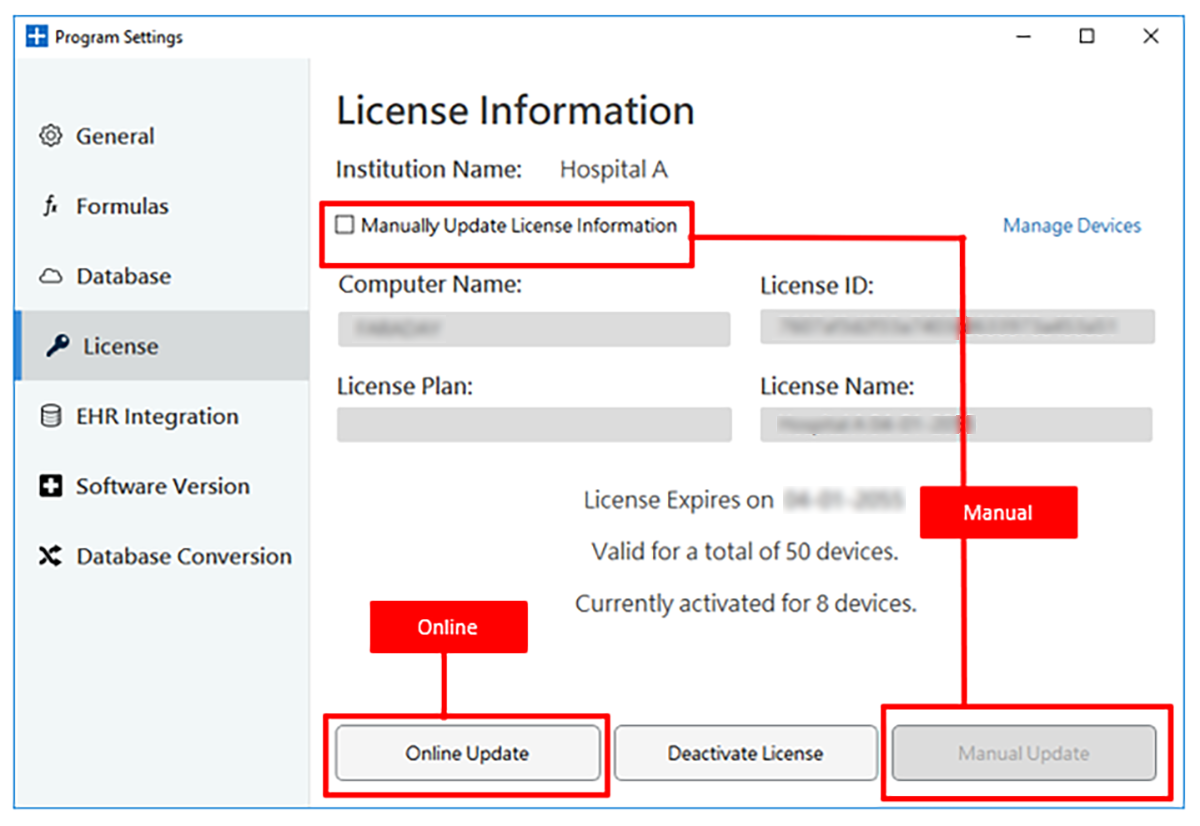
You will be able to update your license in two ways: through a Manual Update and an Online Update.
To manually enter your updated license information, check the ‘Manual Update’ box. You should be able to edit your license name, license ID, and computer name. Enter your information into their respective fields.
Click ‘Manual Update’ to submit your information.
Alternatively, you may automatically update your license information using Online Update option. After clicking ‘Online Update,’ you will be notified that the update was successful.
Active Directory User Setup
Step 1.
Open PrecisePK and log into the default admin account.
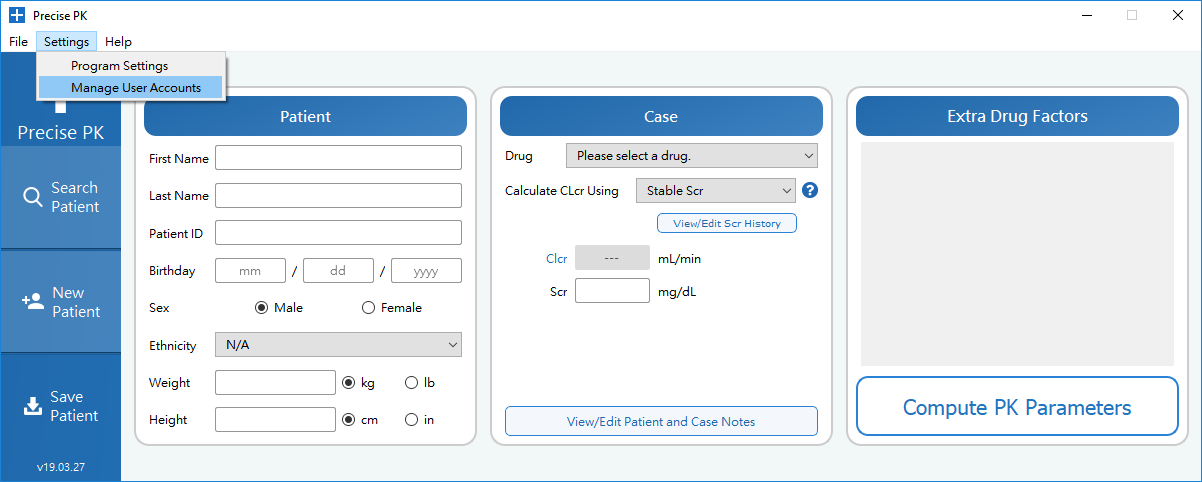
Step 2.
On the toolbar, click ‘Settings’ and select ‘Manage User Accounts’.
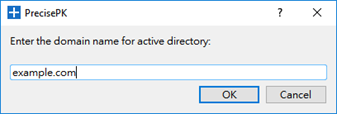
Step 3.
Click ‘Add Active Directory Users’ and enter the domain name for the Active Directory you would like to add and click ‘OK’.

Step 4.
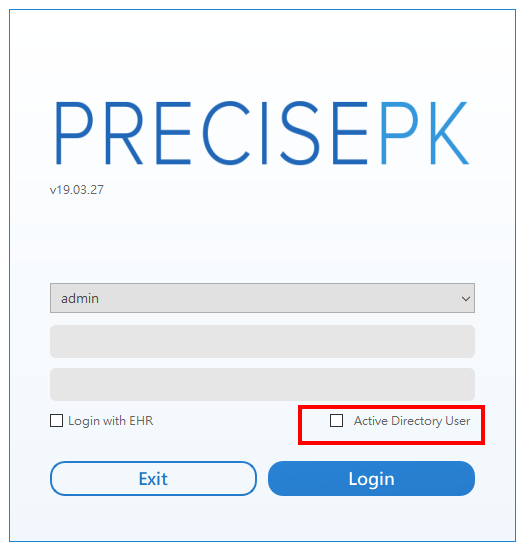
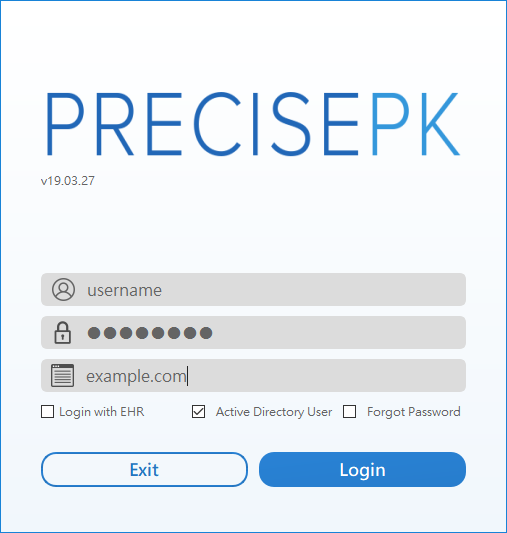
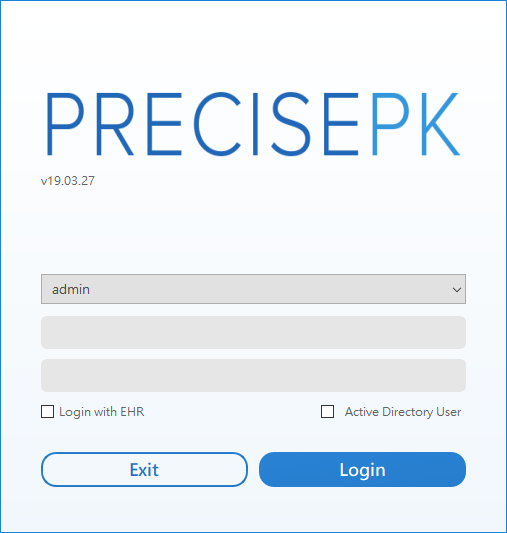
You are done with the Active Directory domain setup. To log into an account in the active directory, use a computer that exists in the active directory. When you run PrecisePK, select the “Active Directory User” box at the login screen and enter the User Name, Password, and Domain in that Active Directory that you would like to log into.